How to Take Pictures
Thinking of selling your home or condominium unit? If you take the “right” photos, they can help accentuate any home or condo by highlighting the unique features, the best angles, and using the right lighting. You’ve spent a lot of time and investment in making your home look its best – this will better your chances of a successful sales deal.
Before Taking any Photos
Everyone most likely uses their mobile phones daily, therefore the lenses and screens are likely to be dirty, dusty, and oily from fingerprints built up. We recommend a mini bottle of screen cleaner solution (also for COVID reasons) and a small cloth handy when getting ready to take photos. Any kind of dust or speck or out-of-focus pictures will be a waste and time is money! We recommend you clean your phone lenses before beginning.


10 Tips and Tricks for taking photos
1. Spend some time
Plan to spend 30 minutes to 1-hour taking pictures to find the right balance of lighting entering each shot. Putting time into taking good property shots only shows how important it is to attract the right buyer.
2. Adjust camera settings
Set the camera app or any picture application used for taking pictures. Set it to the highest resolution.
In most modern smartphones you can set the camera to a wide lens (landscape format) — this setting allows you to fit more into your shot and makes pictures look spacious when viewed on a larger computer screen. Also, set camera application used to grid lines so that it assists with aligning shots respectively.

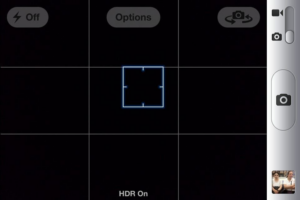
*This grid will help to align the photo*
3. Set the scene
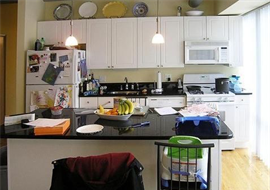
A little preparation and time to stage your condo in order to advertise are important. If you’re photographing the inside of your home, declutter the area and it must be free from other household items, including shampoo bottles in the bathroom, for example, not needed or wanted in the picture.

4. No Distractions, just a clean shot
If you’re taking a picture of a detached home or on a larger private land with a house on it, scoop away the leaves and mow the lawn and clean up plant pots and hoses around the garden area. This helps viewers to focus on their home or project, not distractions.
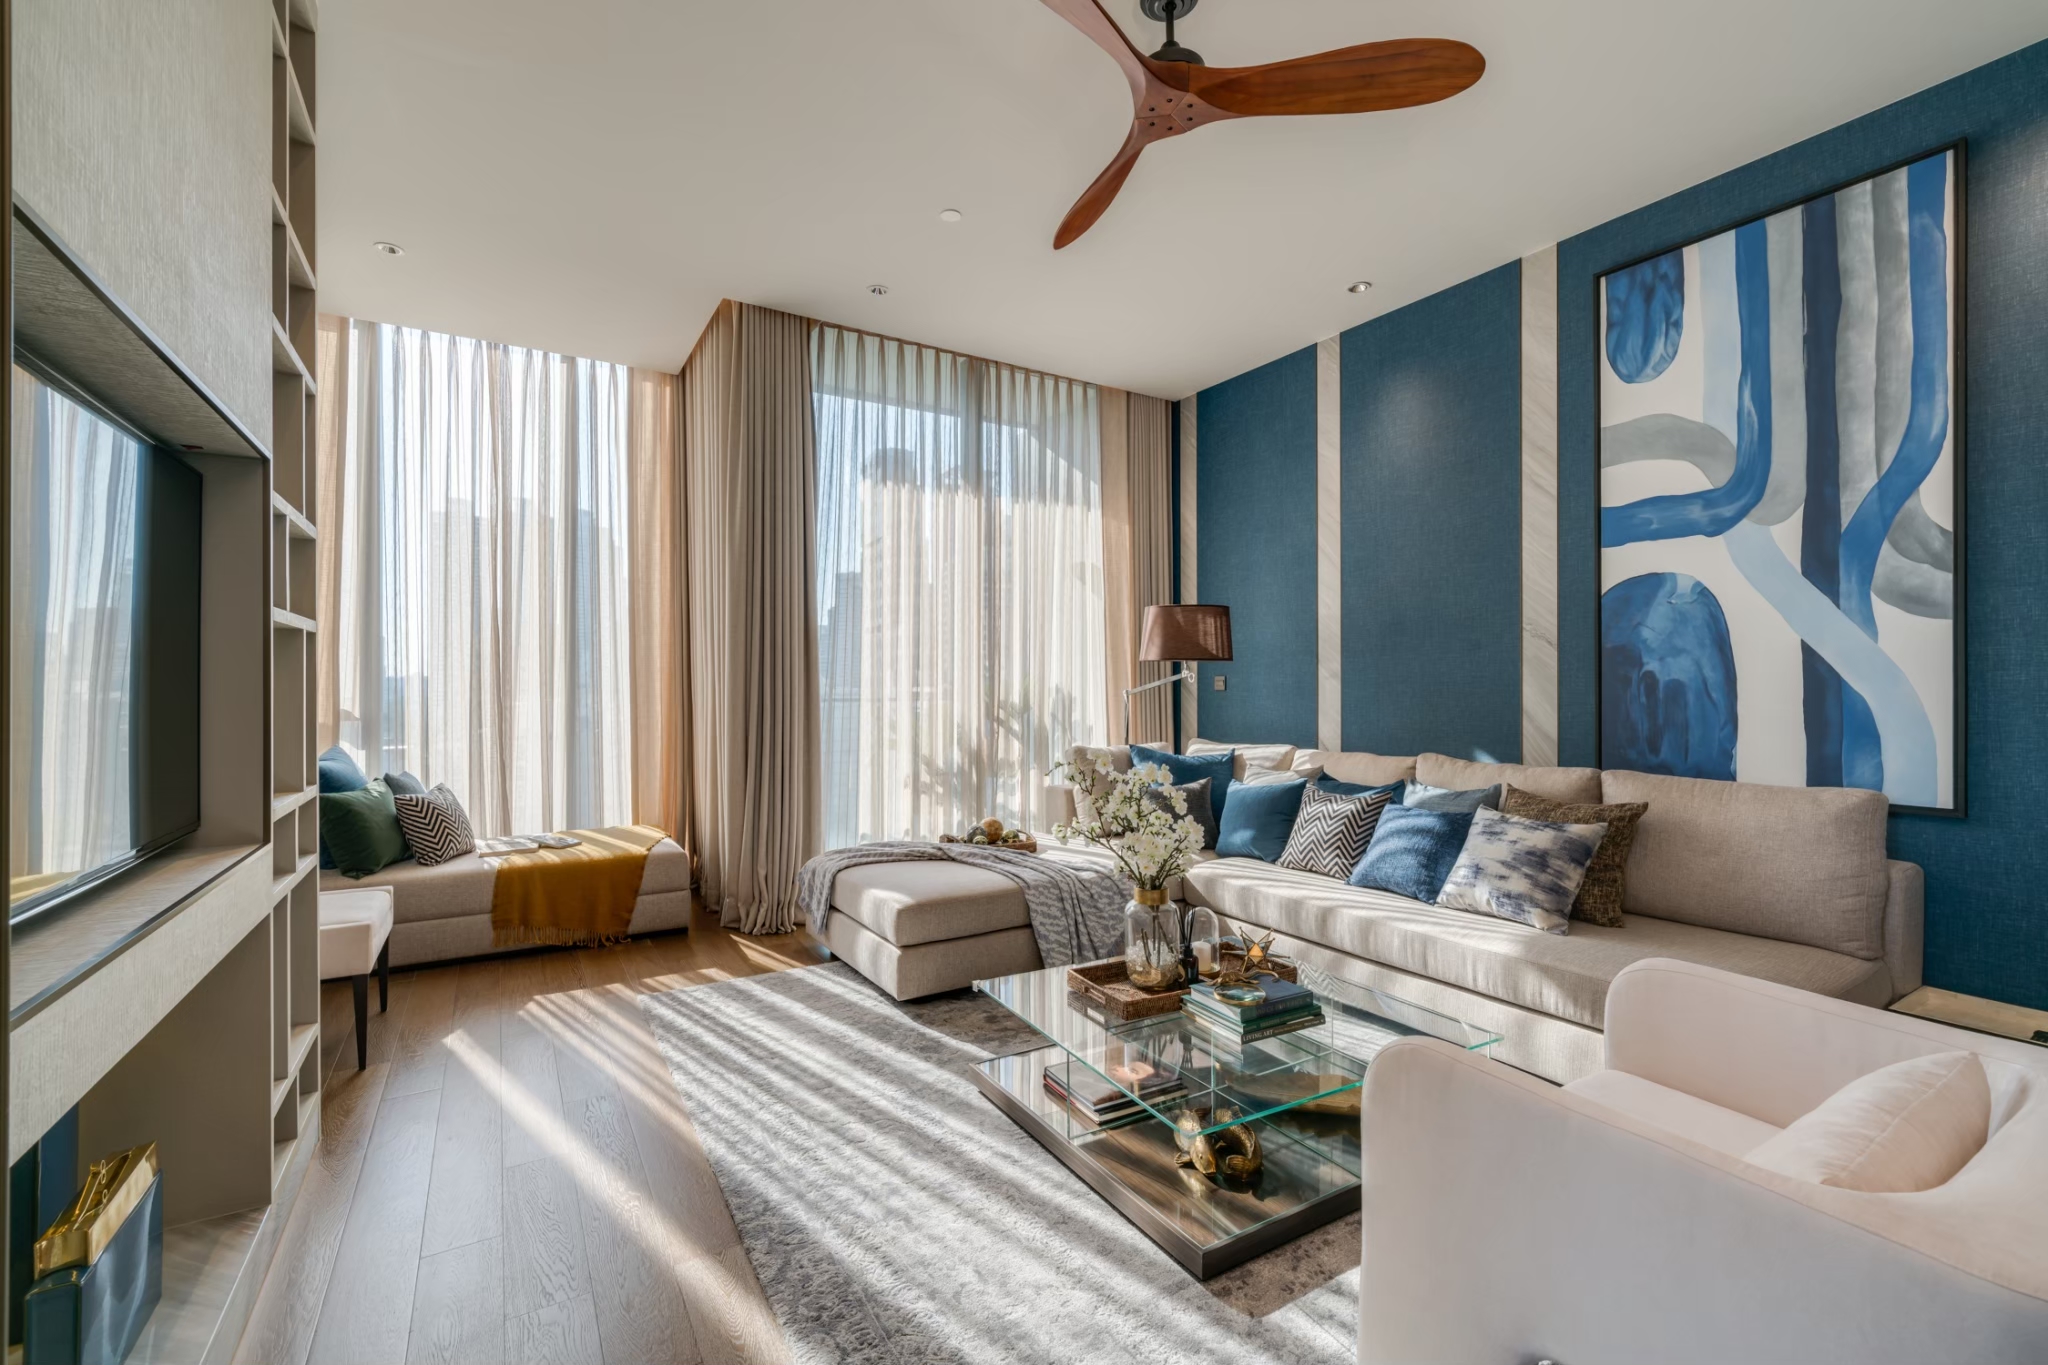
Take a shot of the entire exterior of the property like shown in the examples below:


5. Turn all the lights on
When there is a beam of light in the picture people are attracted to it and more viewers will likely be interested in your property. Natural lighting can make all the difference. When taking shots inside your house, turn on all the lights, the more natural light, the better. Use lighting to your advantage.
When shooting outside, it’s all about timing. The best landscape photos are usually taken during the “magic hours” — either in the early morning sunrise or while the sun is setting.


6. Open the curtains
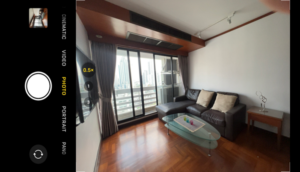
Open the curtains this will allow natural light to seep through better and remember to take many angels of every living quarter for example kitchen, living room, and so on. If you are taking a photograph of the bed


Above is A No No! (If you want to sell your unit)
7. Show your balconies
Show the viewers the balcony and large terrace of your property. It takes around 10 -20 shots and then narrow it down and choose the best one. Avoid taking any pictures of the front of your house with the sun rising behind it — backlighting is not pleasant to the viewer’s eye.

8. Add some props – stage your unit
Re-arrange your home to feel and look cozy by adding pillows, plant to name a few. Turn on all the indoor and outdoor lights to help convehomely atmosphere.


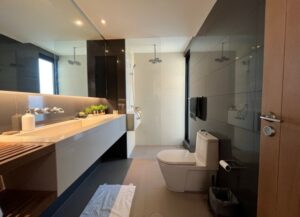
9. Close toilet covers seats
his is more of a gentle reminder, so many of us forget to close the toilet covers. This makes the shot look tidy and crisp.

10. Take Action!
Take a lot, take many angles, and then chose the BEST photographs of each room;
- Living room
- Kitchen
- Dining corner
- Balcony
- Bedroom
- Bathroom, etc.
Don’t forget the exterior such as the swimming pool, gym, tennis court, and other facilities offered together within the property. Altogether narrow down to the best 10-15 pictures and then select the best one.